


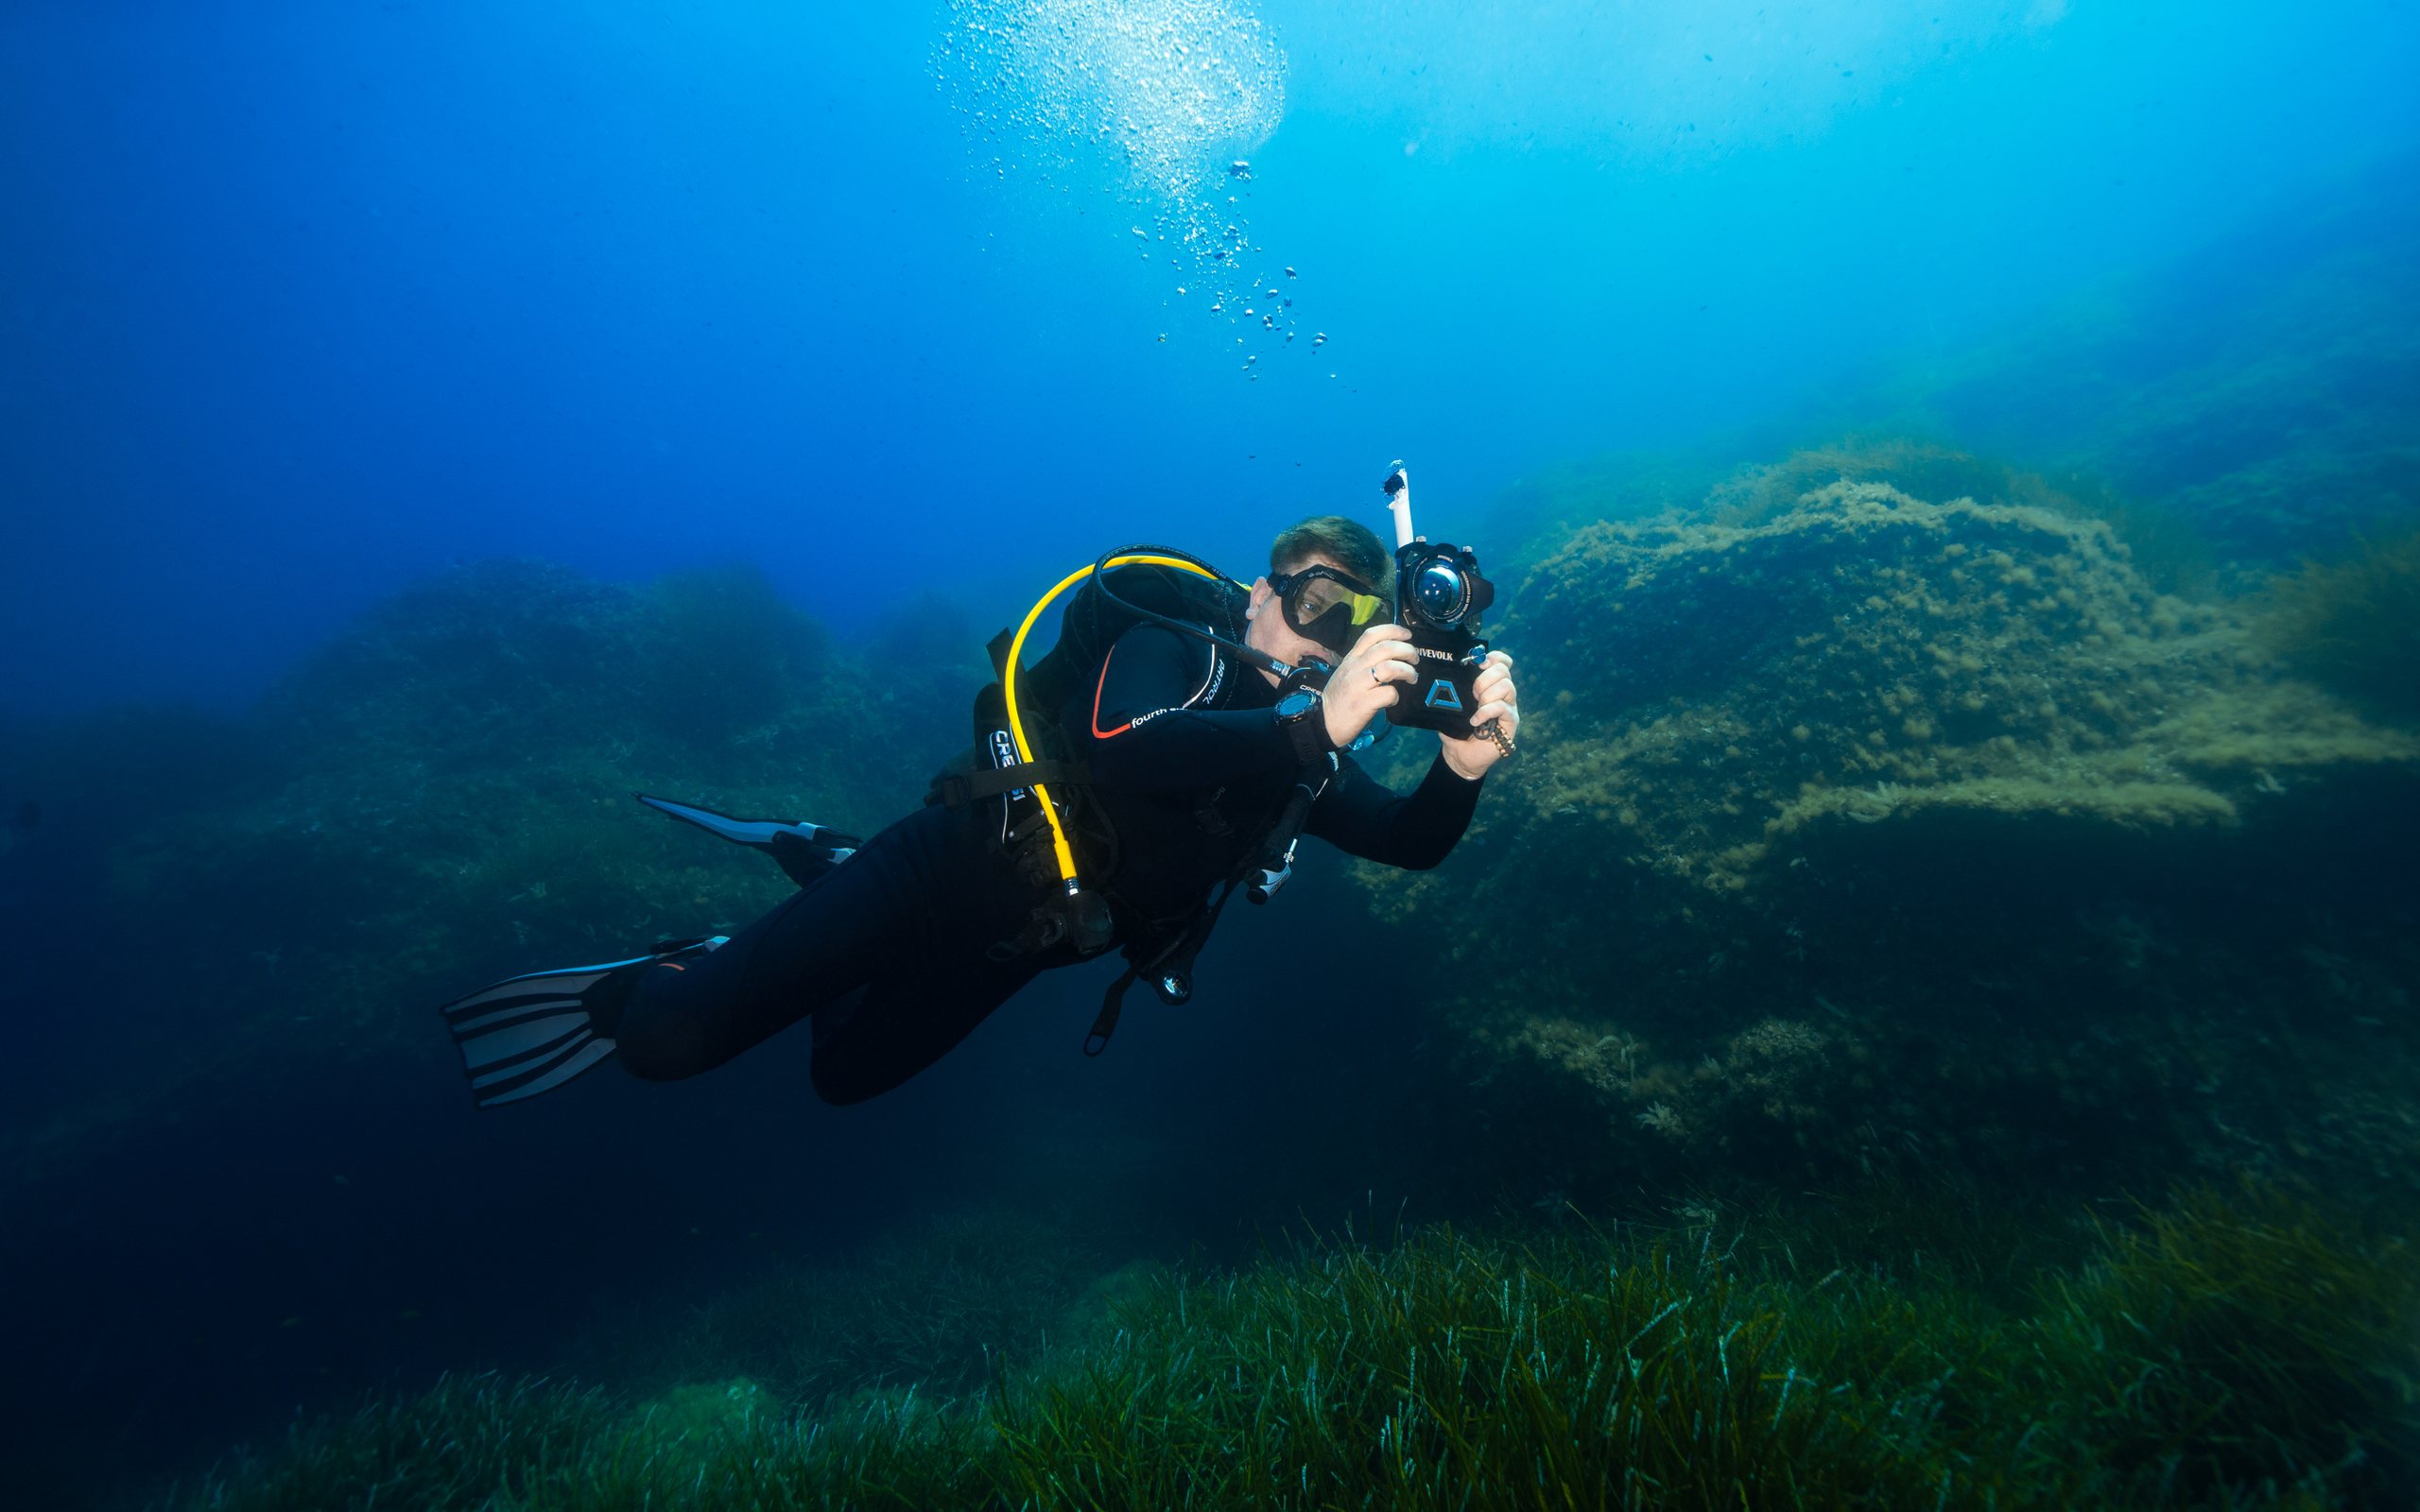
Buoyancy first, then the frame.
PADI Digital Underwater Photographer: underwater photography with a plan

Course description
Underwater photography starts with diving, not with the camera. A good photo requires holding still in the water, getting close to the subject without stirring up silt, and controlling depth, time and gas at the same time. The PADI Digital Underwater Photographer course teaches you to combine these elements so that the camera does not draw attention away from safety.
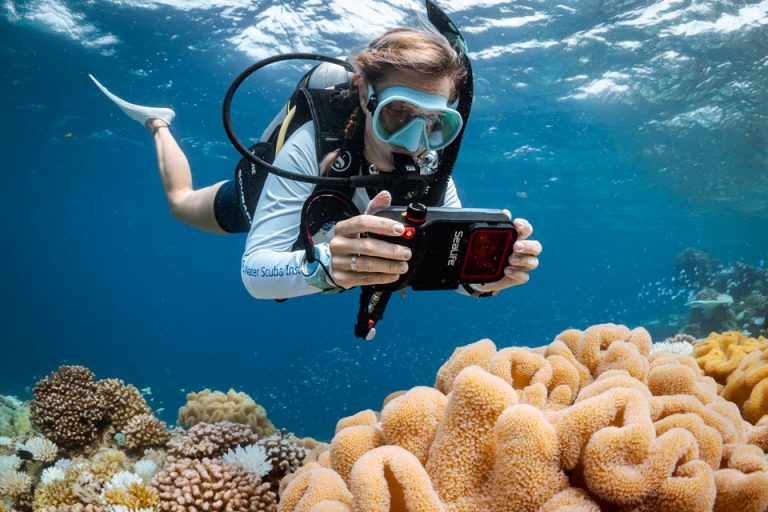
The programme covers the basics of digital photography underwater: exposure, white balance, composition, working with ambient and artificial light, and basic editing of photos after the dive. We run the course on the equipment the student has, from a compact camera in a housing to a system camera with strobes. It is not about expensive gear, but about using what you have with intent.
Polish waters are difficult for a photographer, but they teach a great deal. Limited visibility, green-tinted water and suspended silt in lakes and quarries force you to shoot close, set up strobes carefully and keep very precise buoyancy. Whoever learns to take clear underwater photos in such conditions will manage in any warm, clear water.
At Long Deco we put great emphasis on trim, finning technique and behaviour near the bottom. A photographer who kneels on the bottom or waves their arms near a subject spoils not only their buddy’s photo but also the environment. The course counts as one of the specialties needed for the PADI Master Scuba Diver rating.

One to two days, covering theory, equipment preparation, two dives and a joint review of the photos. Editing and analysing the photos after the dive are part of the course, not an add-on.
Two open water dives. The first is devoted to exposure and the basics of composition, the second to working with light and completing a simple photo task.
A maximum of 4 students per instructor. Photographers need space and time at the subject, and a small group lets everyone work calmly without others stirring up silt.
We run the course on air. Divers with nitrox certification can dive on nitrox, which extends no-decompression time when photographing at a constant depth.
Skills after the course:
- choosing camera settings for underwater conditions,
- setting white balance and working in ambient light,
- placing strobes and reducing the effect of suspended particles,
- composing close-up photos and photos from a low angle,
- holding position at a subject without touching the bottom,
- planning a photo dive with a team,
- basic editing and archiving of photos.
- minimum age: 10,
- PADI (Junior) Open Water Diver certification or an equivalent from another organisation,
- good health confirmed by a medical questionnaire and, if needed, a doctor’s certificate,
- good buoyancy control; we recommend taking the Peak Performance Buoyancy course first.
Photo equipment
- a digital camera in an underwater housing,
- a strobe or continuous light, if you have one,
- charged batteries and memory cards,
- a lanyard or clip for attaching the camera.
Standard kit
- a BCD jacket or a wing with a backplate,
- a regulator with a pressure gauge,
- an exposure suit suited to the water temperature,
- a dive computer,
- weights, fins, mask.
We run the course on the student’s equipment. If you do not have a camera yet, contact us before the course and we will help you choose a starting solution.
Training fee
Price set individually.
Registration and certification fee
According to the current price list of the certifying organisation.
Additional costs
Dive equipment rental, gases, entry to dive sites, travel and any accommodation.
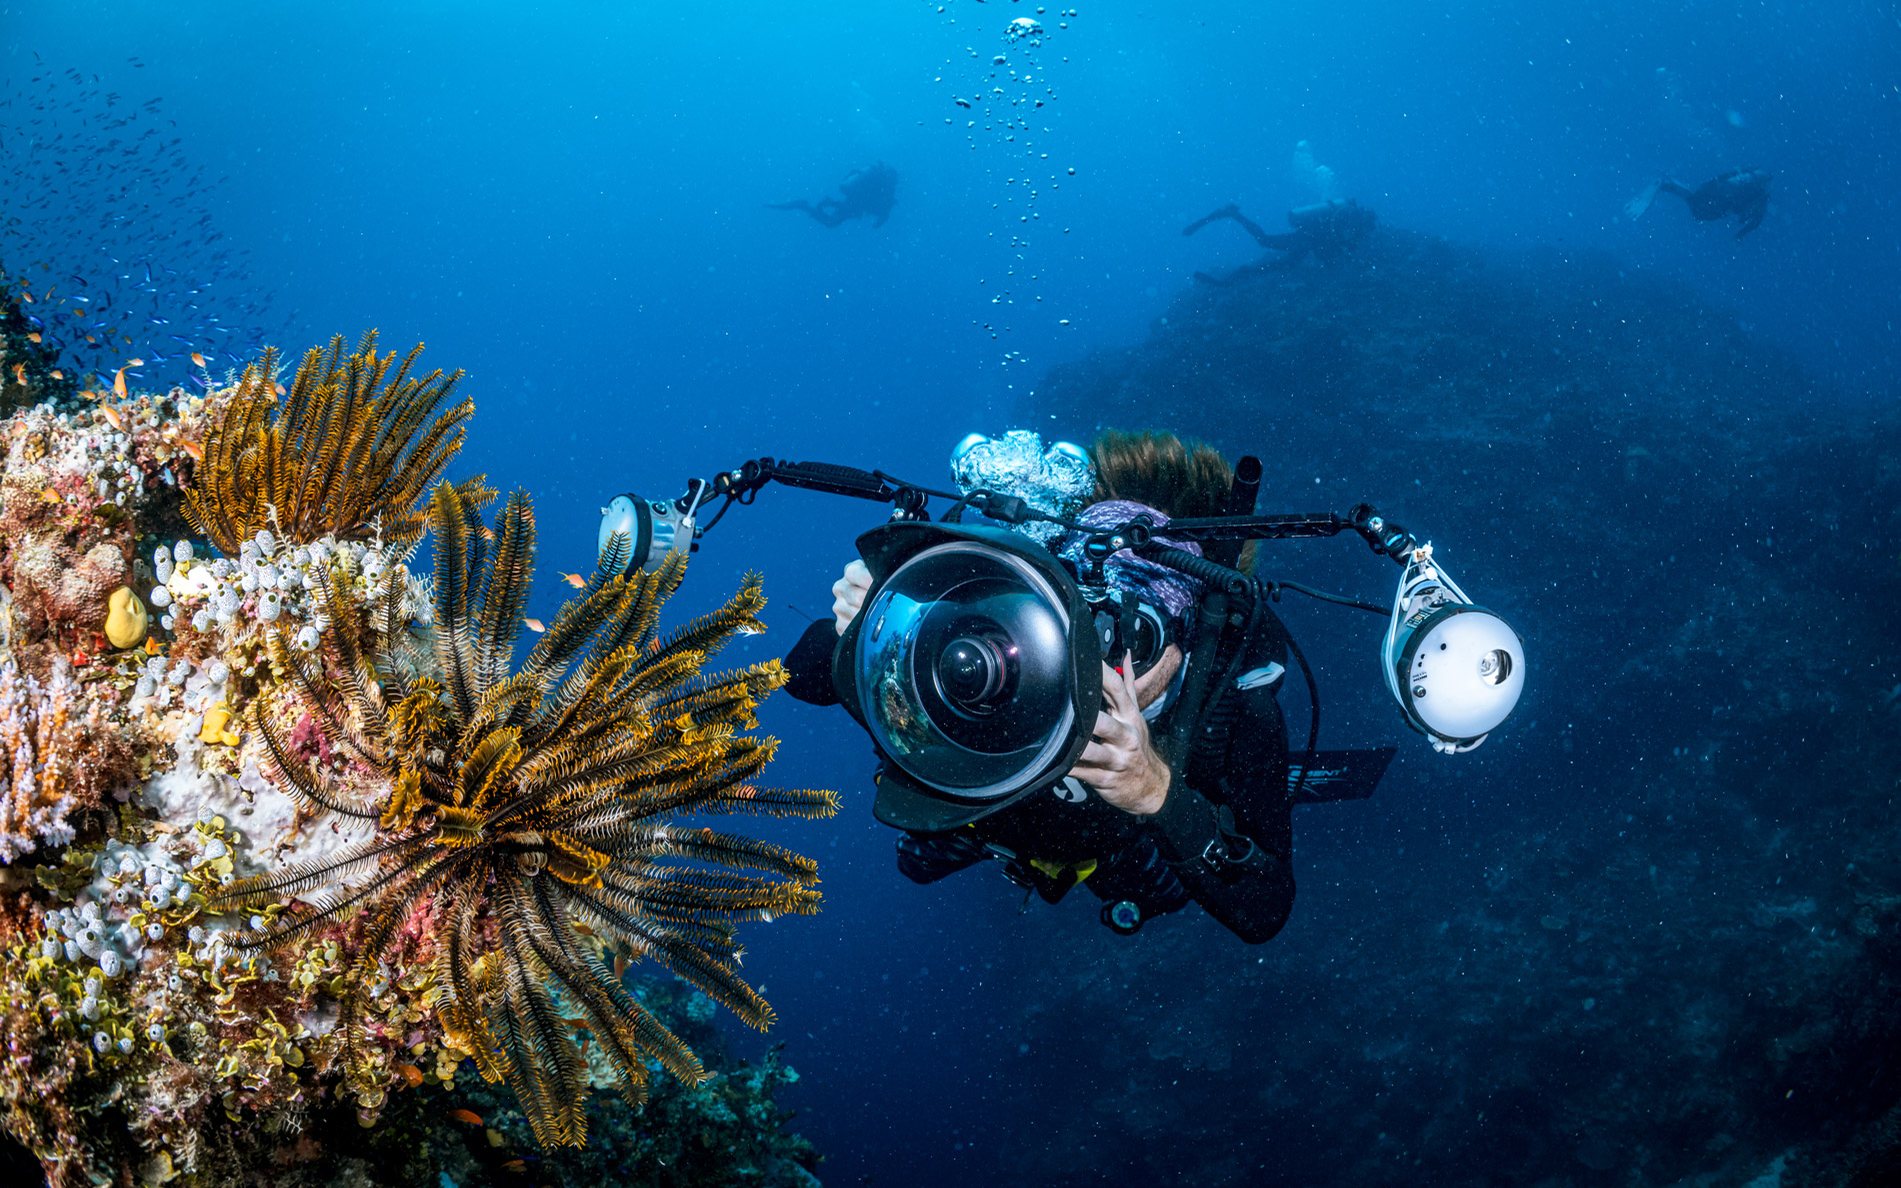
Theory
The theory part covers:
- how water changes light: colour absorption, scattering and suspended particles,
- exposure: aperture, shutter speed and ISO sensitivity,
- white balance and photography in ambient light,
- strobes: placement, angle and power,
- composition: distance, perspective, background,
- photo diving in a team and protecting the environment,
- reviewing, editing and archiving photos.
Practice
Before every dive we prepare and check the camera equipment on land. After every dive we review the photos together and agree what to change on the next one.
Dive 1: buoyancy, exposure and composition
- pre-dive check: housing, seals, settings,
- holding position and trim with a camera in your hands,
- photos in ambient light with manual white balance,
- a series of photos of the same subject from different distances,
- monitoring gas and time while working at a subject.
Dive 2: light and a photo task
- placing strobes and reducing the effect of suspended particles,
- photographing a team buddy,
- close-up photos and photos from a low angle without touching the bottom,
- completing a simple photo task planned before the dive,
- discussing and choosing the best photos after the dive.
Before you start taking photos, get into trim and check your computer. A photo can always be retaken, an exceeded no-decompression limit cannot.

FAQ

The next step on your path
- Peak Performance Buoyancy, if buoyancy limits the quality of your photos,
- Night Diver and Wreck Diver, to photograph in new conditions,
- Deep Diver, when the interesting subjects lie deeper,
- Tec Basics, if you are thinking about documenting wrecks and sites reachable only by technical diving.
The best photos of wrecks and caves are taken by divers for whom diving itself has stopped being an effort. Investing in diving skills gives you more than another lens.
Trips
- the Red Sea and warm waters, where colour and clarity let you practise ambient light,
- wrecks of the Baltic and Norway, where work with strobes and documentation matter,
- lakes and quarries in Poland as regular training in poor visibility,
- night dives with close-up photography,
- training trips where we document the team’s work.
Carry lithium batteries for the camera and strobes in your hand luggage, and check the airline’s rules before you fly. Bring spare housing seals and grease.